
The "Photos" widget automatically takes over the contents you have defined in the menu item Photos.

To insert the widget "Photos" into your structure, drag and drop it from the left column into the column to the right. Then move the mouse pointer over this newly inserted module and click on the edit pencil.
Attention!
If you have set up a multilingual event website, please make sure that the language display from the "Navigation" module does not correspond with the general language changer of the tool. Therefore, when editing the module, make sure that you store all the desired content in the correct languages. Use the language assistant with this icon ![]() to help you and check via the language switcher in the upper right corner whether you have set up the content in all languages. You can find more detailed information this in this article.
to help you and check via the language switcher in the upper right corner whether you have set up the content in all languages. You can find more detailed information this in this article.
The following settings can now be stored:
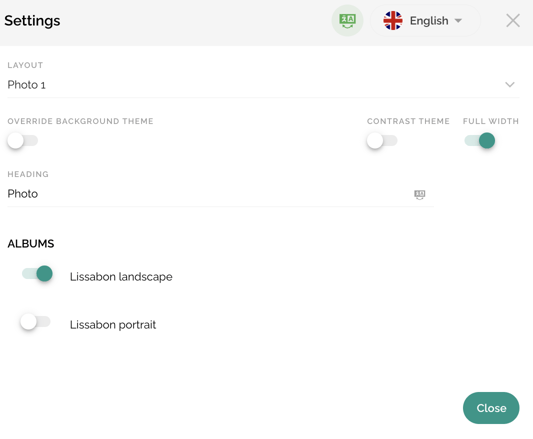
- By selecting the layout, you determine how the module is displayed on your website.
- Layout 1: up to 4 thumbnails (landscape mode)

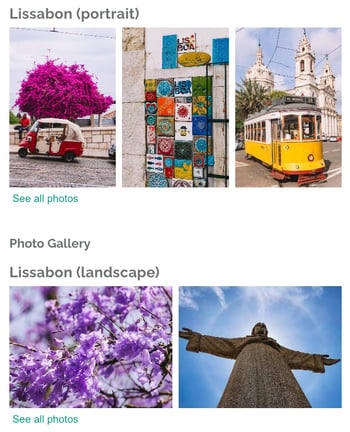
- Layout 2: up to 6 thumbnails (portrait mode)
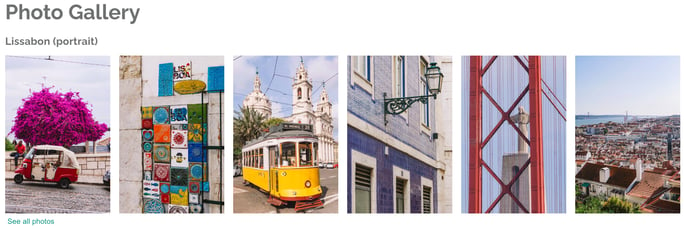
- Layout 1: up to 4 thumbnails (landscape mode)
Please note:
On the mobile website version, in layout 1 only your first two thumbnails are displayed - and in layout 2 the first three of your selected thumbnails!
- If you activate the checkbox "Override background theme", you can individually adapt the background colour defined by default in the website settings for this module. The best way to do this is to define the colour of the widget using the HEX code. The HEX code is not available to you? Then click in the field and enter the HSL values in the pop-up window.
- If you do not activate the "Overwrite background theme" check box, you have the option of selecting the "Contrast Theme" check box instead. The widget now adopts the colour value defined in the website settings by default.
- Full width: set whether the widget takes up the entire width of the website or whether it adapts to the content. We show you how to define the content width in this article.
- The heading defines the name of this module and thus the title that the participants see above this section. You can give the heading any name you like.
- By activating or deactivating the buttons next to the albums, you can decide which of your stored photo albums are to be displayed in this module.
Please note:
The tool allows you to add as many photo modules as you like to your website and, for example, to display photo albums in different layouts.
Save your adjustments with the help of the "Close" button.
You can find more information about the presentation on the website HERE.