
Photos were taken at your event and you would like to publish them afterwards to share them with your contacts and/or other people?
In this article we explain how to set up your photo gallery in the evenito back office and prepare it for use and display on a website.
In this article
Activating the photo gallery function
Note:
This module is an additional function that is not available in the basic setup of evenito. Please get in touch with your sales contact or the Customer Success Team if you are interested in this function and would like more information on how to activate it.
In order to use the photo gallery function, it must first be activated in the Event Center in the basic settings.
To do that please activate the toggle next to the "Photos" Feature on the right side.

As soon as this has been done, the menu item "Photos" appears in the navigation bar in your corresponding event.
If this event is copied or saved as a template, the photo gallery function is already automatically activated in these events. If the function is needed again in a completely new event, it must be activated again in the corresponding event as described above.
Please note:
The photos in your photo gallery(s) are event specific and must be uploaded to your library and albums per event.
Your photo library
The photo library is a collection of all your photos from this event. In the "Library" tab, you can store all event specific photos, which you can subsequently sort into your albums. This means that you can also add photos to your photo gallery that you do not initially want to publish in one or more albums.

Upload photos to the library
To add new photos to your library, click on the plus button at the top right.
Then select your preferred images directly from your computer in the window that opens and click on "Open" to complete the upload.
Please note:
The following file formats and sizes are supported by the photo gallery and can be uploaded by you: Supported file formats and sizes.
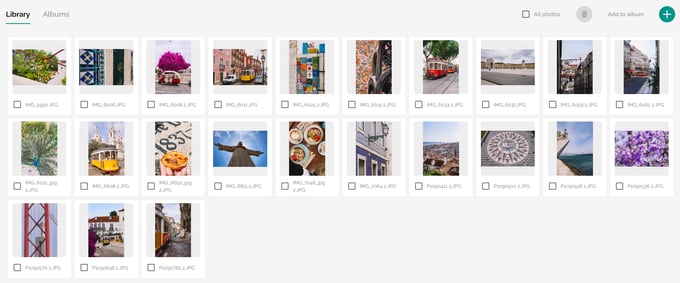
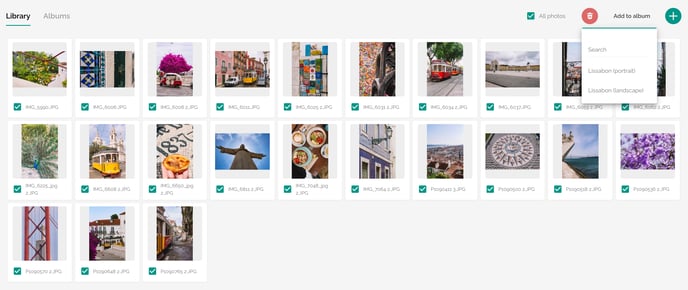
As soon as you have finished uploading, the photos will be displayed in your library, sorted alphabetically by file name.
Please note:
As you add more photos to your library, the new images will sort themselves into the alphabetical order of your existing image sequence.
Delete photos from the library
If you have uploaded photos that you would like to remove later, you can mark them by clicking on the corresponding photos in your overview with the checkbox for each photo itself.
You can select all photos at once by clicking on the "All photos" checkbox at the top right or by using the combinations Cmd + A (Mac) or Ctrl + A (Windows).
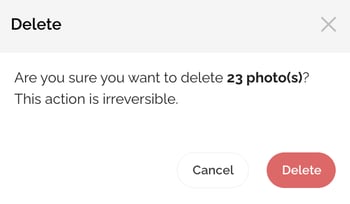
The bin symbol in the top right-hand corner now becomes active and a confirmation prompt appears when you click on it. As soon as you have clicked on "Delete", your photo(s) will be deleted.
Attention!
If you delete photos from your library, they will automatically be removed from all albums in which you have added them and therefore from the entire event.
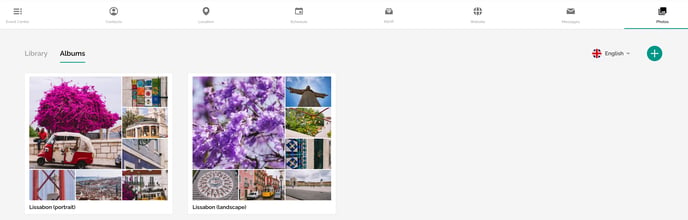
Your photo albums
The "Albums" tab allows you to create new albums which you can then display on the website. Only entire albums can be displayed - it is not possible to display individual photos from the library.
Create an album
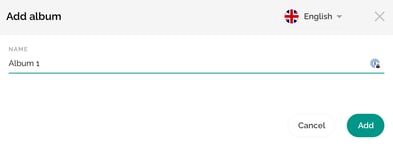
To create a new photo album, click on the plus button at the top right.
Now enter a name for your new album and confirm your entry with "Add".
Please note:
If you have activated more than one language for your event, please make sure to store the name of your album in all event languages via the language switcher. The name of an album will then be displayed on the website in the respective language.
If you want to change the name of your album later, move the mouse pointer over the album and click on this icon:![]() . Change the name in the input field that appears below your album. Save your changes by clicking on the tick directly next to it or at the top right edge of the album.
. Change the name in the input field that appears below your album. Save your changes by clicking on the tick directly next to it or at the top right edge of the album.
Add photos to album
To add photos from your library to your newly created album, you can select them individually in your library and add them to the previously created album by clicking on the "Add to album" button in the top right hand corner.
Your selected photos are now transferred to the desired album. In addition, the photos remain in the library.
Alternatively, you can also load photos directly into an existing album. To do this, select the relevant album in the "Album" tab and click on the plus symbol at the top right. Then select your desired photos from your local data in the window that opens and click on "Open" to complete the upload.
You can find more information about the supported formats HERE.
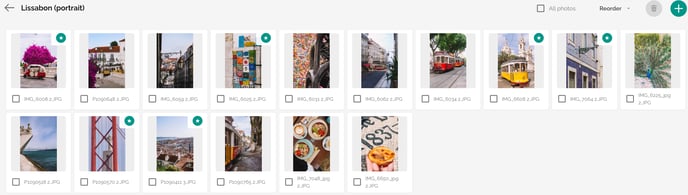
As soon as you have completed the upload, the photos are displayed in alphabetical order in your album by default.
Change the order of your photos
![]()
Via the button "Arrange" you have the possibility to adjust the sorting of your photos within the library according to the following criteria. However, only alphabetical sorting is currently possible via the button.
Alternatively, you can also move the photos using drag & drop and put them in your desired order.
Change album order
You want to arrange your photos in several different albums and have already created the individual albums?
Then hover over them individually and move them to a different position using this icon ![]() at the top right of the album.
at the top right of the album.
Define thumbnails
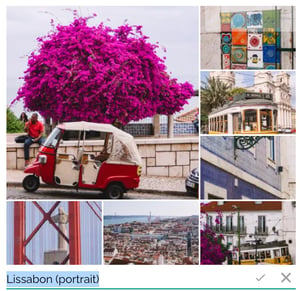
As soon as you have created an album, it is automatically filled (if already added) with 7 thumbnails from this album in the overview in the back office. You can manually define these thumbnails and thus control which thumbnails you want to display first on the website.
Click on your album to see all the photos in the overview. The first 7 photos listed in your album are displayed as thumbnails. If you want to select other preview photos to be displayed in the preview instead, hover over each photo individually and mark them with the star symbol at the top right.
This also allows you to display photos from the end of your photo gallery as preview images in the album on the website.
Please note:
Depending on the device and layout of the photo module, either your first 2-6 thumbnails or your first 2-6 stared photos will be displayed on the event website for viewing.
Delete photos from the album
If you have added photos to your album that you would like to remove later, you can mark them by clicking on the corresponding photos in your overview with the checkbox for each photo itself.
Alternatively, you can select all photos at once by clicking on the checkbox "All photos" in the upper right corner or by using the combinations Cmd + A (Mac) or Ctrl + A (Windows).
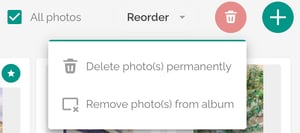
The rubbish bin symbol at the top right now becomes active.
Now you can decide whether you
- want to delete the photos permanently, which will remove them not only from the album but also from the library and thus from the entire event,
- or whether you only want to remove the photos from the album, which means that they will remain in the library and in your event.
Attention!
When you click on one of the two options, no further confirmation prompt appears. After your selection, your photos will be deleted directly.
Delete album
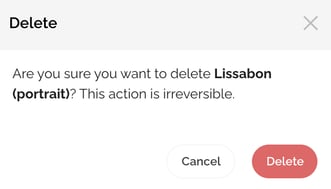
If you want to remove an entire album from your event, hover over the album and click the bin icon![]() at the top right of the album. When you click on this, a confirmation prompt will appear. As soon as you have clicked on "Delete", your album will be removed.
at the top right of the album. When you click on this, a confirmation prompt will appear. As soon as you have clicked on "Delete", your album will be removed.
Attention!
If you delete an entire album or a photo from an album, these photos will still remain in your library. However, the album/photo will be removed from the website.
Please note:
Downloading your photos from your library or an album is not possible at this time.
Next steps: How to integrate and use the photo widget